Finding Top Software Like flashboot-3.3n-setup
Have you ever needed to install or repair a computer’s operating system without a CD or DVD drive? Or maybe you wanted a portable version of Windows you could carry in your pocket? This is where bootable USB creation tools come into play. These powerful utilities transform a simple flash drive into a launchpad for installing operating systems, running diagnostic tools, or even booting into a full desktop environment. If you’ve been searching for software like flashboot-3.3n-setup, you’re in the right place. This guide will walk you through everything you need to know about these essential tools.
We’ll explore what this type of software does, who benefits from using it, and how to choose the best option for your needs. From creating bootable drives to backing up your system, you’ll discover how to handle these tasks with confidence. We’ll even provide a step-by-step workflow, troubleshooting tips, and best practices to ensure you get it right every time.
Key Takeaways
- Core Function: Software in this category specializes in creating bootable USB drives from ISO files, which are essential for installing or repairing operating systems like Windows, Linux, and macOS.
- Advanced Features: Many tools offer more than just basic booting. Look for features like Windows-to-Go creation, full disk backup and restore, secure data wiping, and the ability to add or “inject” drivers into your installation media.
- Choosing a Tool: Key factors for selecting the right software include its feature set, operating system compatibility, user interface friendliness, processing speed, and the terms of its license (free vs. paid).
- Best Practices are Crucial: Always back up your USB drive’s data before formatting. Understand the difference between GPT and MBR partition schemes and match your bootable drive to the target computer’s firmware (UEFI or Legacy BIOS) for best results.
What Does Bootable USB Software Actually Do?
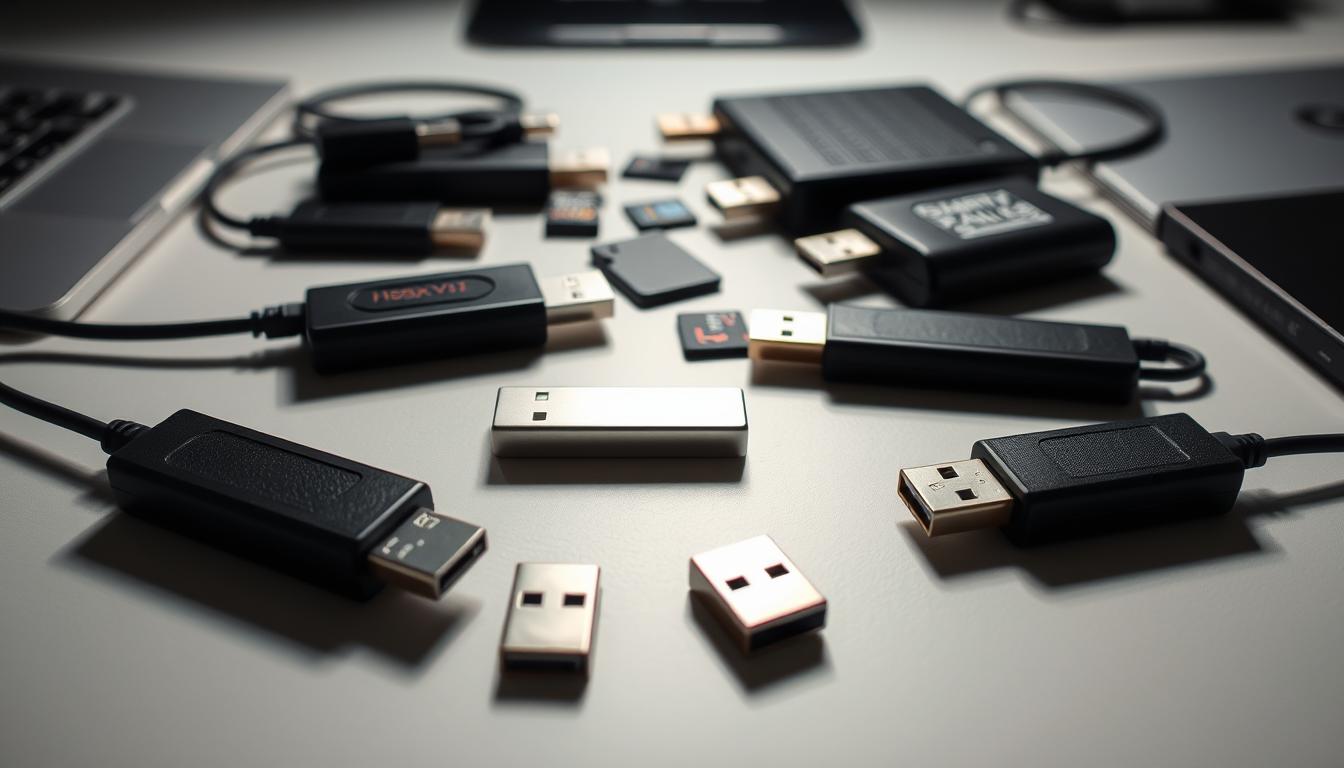
At its core, software designed for creating bootable media takes an operating system installation file, typically an ISO image, and correctly writes it onto a USB flash drive. This process does more than just copy the file over; it sets up the drive’s file system and partition structure so that a computer can recognize it as a startup disk during the boot process. This allows you to install Windows, try out a Linux distribution, or run system recovery tools directly from the USB stick. It’s a fundamental skill for anyone who builds or maintains PCs.
Beyond this basic function, many applications in this category, including various software like flashboot-3.3n-setup, offer a suite of powerful features. One popular capability is creating a “Windows-to-Go” drive, which is a full, portable version of the Windows operating system that runs entirely from your USB. You can plug it into almost any computer and boot into your own personal desktop. Other advanced functions include creating full backups of your existing Windows installation, which can be a lifesaver if your system crashes. Some tools even allow for driver injection, letting you add specific hardware drivers directly into the installation media—perfect for systems with newer components that Windows doesn’t recognize out of the box.
Who Needs This Kind of Software?
You might think this type of utility is only for tech wizards, but its user base is surprisingly broad. IT professionals and system administrators are arguably the primary users. They rely on these tools daily to deploy, repair, and upgrade operating systems across countless computers in an organization. Creating a standardized bootable USB with pre-loaded drivers and settings saves them an immense amount of time. Similarly, PC builders and hobbyists find these tools indispensable. When you build a new computer from scratch, it has no operating system, and a bootable USB is the modern standard for installing one for the first time.
Beyond the professional realm, students in tech-related fields often use bootable drives to experiment with different operating systems, like Ubuntu or Kali Linux, without altering their primary computer. It’s a safe and effective way to learn. Even the average home user can benefit greatly. If your computer is hit by a virus or suffers a critical system failure, a rescue disk created with software like flashboot-3.3n-setup can help you access recovery tools to fix the problem or back up your precious files before performing a clean installation. It’s like having a digital first-aid kit for your PC.
How to Select the Right Bootable USB Tool
With many options available, choosing the right tool can feel overwhelming. To find the best fit, you should evaluate each program based on a few key criteria. First and foremost, consider the features. Do you just need to create a simple bootable drive from an ISO file, or do you need advanced capabilities like Windows-to-Go, partition management, or secure data wiping? Make a list of your must-have features. Next, check for operating system support. Ensure the software can create bootable drives for the OS you plan to install (e.g., Windows 11, macOS Sonoma, or a specific Linux distro) and that the tool itself runs on your current computer.
Other critical factors are speed and reliability. A good tool should write data to the USB drive quickly and, more importantly, create a working bootable drive every time. Reading user reviews can provide insight into a tool’s performance. The user interface (UI) also matters; a clean, intuitive interface makes the process much simpler, especially for beginners. Finally, look at the licensing. Many excellent tools are free, while others offer a free version with limited features and a paid “pro” version that unlocks everything. Determine if the free version of a particular software like flashboot-3.3n-setup meets your needs or if the premium features are worth the investment for you.
Comparison of Common Features
To help you decide, here’s a look at features you might find in different types of bootable USB software.

|
Feature |
Basic Tool |
Advanced Tool |
Pro-Level Tool |
|---|---|---|---|
|
Create Bootable USB from ISO |
✅ |
✅ |
✅ |
|
Windows-to-Go Creator |
❌ |
✅ |
✅ |
|
Full OS Backup/Restore |
❌ |
Sometimes |
✅ |
|
Secure Drive Wipe |
❌ |
Sometimes |
✅ |
|
Driver Injection |
❌ |
❌ |
✅ |
|
Multi-Boot USB Support |
Sometimes |
✅ |
✅ |
|
Command-Line Interface (CLI) |
❌ |
Sometimes |
✅ |
Best Practices for Creating Bootable Media
Following a few best practices can save you from headaches and ensure your bootable drive works flawlessly on the first try. The most important rule is to back up any important data on your USB drive before you begin. The process of creating a bootable drive will completely erase everything on it, and that data will be gone for good. Always use a blank USB stick or one with files you don’t mind losing. Another key practice is to verify the integrity of your ISO file before using it. A corrupted ISO will result in a failed installation. Many operating system providers offer an MD5 or SHA-256 checksum, which you can use with a separate utility to confirm your downloaded file is intact.
Understanding GPT/MBR and UEFI/Legacy
You will often see options for GPT (GUID Partition Table) or MBR (Master Boot Record) partition schemes. MBR is an older standard compatible with most systems, while GPT is a modern standard required for drives larger than 2TB and is part of the UEFI specification. As a rule of thumb, match the partition scheme to the target computer’s firmware. Most computers made in the last decade use UEFI (Unified Extensible Firmware Interface), which works best with GPT. Older computers use the traditional Legacy BIOS, which requires MBR. Creating a drive with the wrong scheme may prevent it from booting. The software you choose should allow you to select the correct combination for your target machine. For further reading on system configurations, you can explore resources like https://versaillesblog.com/ for general tech insights.
A Step-by-Step Workflow Example
Let’s walk through a generic process for creating a bootable Windows 11 USB drive. While the exact steps vary slightly between different software programs, the core workflow is nearly identical across most tools that are software like flashboot-3.3n-setup.
- Gather Your Materials: You will need a USB flash drive (at least 8GB for Windows 11) and the official Windows 11 ISO file, which you can download directly from Microsoft’s website.
- Launch the Software: Open your chosen bootable USB creation tool. Make sure you are running it with administrative privileges, as it needs low-level access to format the drive.
- Select the USB Drive: From a dropdown menu, carefully select the correct USB drive. Double-check the drive letter and name to avoid accidentally wiping the wrong device, like an external hard drive.
- Choose the ISO File: Click a “Select” or “Browse” button to locate and open the Windows 11 ISO file you downloaded earlier. The software should automatically detect information about the operating system from the file.
- Configure the Options: This is the most crucial step.
-
- Partition Scheme: Choose GPT for modern computers (UEFI) or MBR for older ones (Legacy BIOS). Most tools default to the best option.
- Target System: Select UEFI (non CSM). CSM stands for Compatibility Support Module, which enables legacy booting on UEFI systems.
- File System: Use NTFS for Windows installations. The software usually handles this automatically.
- Volume Label: You can give the drive a recognizable name, like “Win11_Install.”
- Start the Process: Click the “Start” or “Create” button. The software will pop up a final warning that all data on the selected USB drive will be destroyed. Confirm that you have selected the correct drive and proceed.
- Wait and Verify: The process can take anywhere from a few minutes to over half an hour, depending on the speed of your USB drive and computer. Once finished, the tool will display a “Ready” or “Complete” message. You now have a bootable Windows 11 installation drive.
Troubleshooting Common Issues
Even when you follow all the steps, things can sometimes go wrong. If your newly created USB drive doesn’t boot, don’t panic. The most common issue is an incorrect setting in the computer’s BIOS/UEFI firmware. To fix this, restart the computer and enter the firmware setup (usually by pressing F2, F12, or Del during startup). Ensure that Secure Boot is disabled, as it can sometimes prevent booting from external media. Also, check the boot order and make sure that “USB Drive” or your specific flash drive is listed as the first boot device.
Another frequent problem is a faulty USB port or drive. Try plugging the flash drive into a different USB port, preferably one directly on the motherboard (at the back of a desktop PC) rather than a front-panel port or hub. If that doesn’t work, try recreating the bootable media on a different USB stick to rule out a hardware failure. Sometimes, the ISO file itself is the culprit. Re-download the ISO and verify its checksum to ensure it’s not corrupted. Using a different software like flashboot-3.3n-setup to create the drive can also help determine if the issue lies with the tool or the components.
Frequently Asked Questions (FAQ)
Q: Can I use the USB drive for regular storage after creating a bootable drive?
A: No, not without reformatting it. The bootable creation process changes the drive’s partition structure. To use it for storage again, you will need to use your operating system’s disk management tool to delete the existing partitions and create a new, simple volume formatted with FAT32 or NTFS.
Q: Is it legal to download a Windows ISO and create a bootable drive?
A: Yes, it is perfectly legal. Microsoft provides official ISO files for download on its website. However, to activate and use Windows long-term, you will need a valid product key or a digital license linked to your Microsoft account.
Q: What is the difference between a bootable USB and a portable app?
A: A bootable USB contains an entire operating system or a set of system-level tools that run before your main OS loads. A portable app is a regular software program (like a web browser or image editor) that is configured to run from a USB drive without needing to be installed on the host computer, but it still runs within an existing operating system.
Q: Do I need a very fast USB drive?
A: While any USB 2.0 drive will work, using a faster USB 3.0 (or newer) drive will significantly speed up both the creation process and the OS installation itself. The difference can be substantial, cutting down wait times from over 30 minutes to less than 10.
Conclusion
Mastering the use of bootable USB software is a valuable skill for anyone who works with computers. Whether you are an IT professional deploying a fleet of new machines, a hobbyist building your dream PC, or a home user preparing for a potential system crash, these tools provide immense utility. By understanding their core functions, knowing what features to look for, and following best practices, you can confidently select and use software like flashboot-3.3n-setup for your projects. Remember to always back up your data, choose the correct settings for your target system, and don’t be afraid to troubleshoot if things don’t work on the first try. With a reliable bootable USB in hand, you are well-equipped to handle nearly any operating system task.


Post Comment