The Ultimate Guide to the Humble Stitch
What comes to mind when you hear the word stitch? For many, it might be the simple act of mending a torn shirt or sewing on a button. But the world of the stitch is vast and fascinating, stretching from ancient textile arts to modern medical procedures and even into our digital vocabulary. A single stitch is the fundamental building block of countless creations, from cozy hand-knit sweaters to life-saving surgical closures. It’s a simple loop of thread or yarn, yet it holds the power to connect, create, repair, and embellish. This guide will unravel the many threads of this topic, exploring everything you need to know about the essential stitch in all its forms.
Key Takeaways
- A stitch is a single loop of thread or yarn made by a needle, forming the basic unit of sewing, knitting, crochet, and embroidery.
- The history of the stitch dates back to the Stone Age, with early humans using bone needles and sinew to join animal hides.
- Different crafts use distinct types of stitches, from the running stitch in sewing to the knit and purl stitch in knitting.
- Stitches can be created by hand or with a machine, each offering unique benefits in terms of control, speed, and appearance.
- Beyond textiles, the term stitch is crucial in medicine for closing wounds (sutures) and in digital video editing for combining clips.
What Exactly Is a Stitch?
At its most basic, a stitch is a single turn or loop of thread, yarn, or other material made by a needle. It is the fundamental element that, when repeated, forms seams, patterns, and entire fabrics. Think of it as a single pixel in a digital image or a single brick in a wall; it’s the smallest component that contributes to the whole. Whether you are using a needle and thread to mend a hem, a knitting needle to create a scarf, or a crochet hook to form a blanket, you are creating a series of stitches. The way these loops are formed, interlocked, and arranged determines the final structure, texture, and appearance of the finished piece. The humble stitch is what holds our clothing together, decorates our linens, and allows us to create beautiful and functional items from simple strands of fiber.
A Brief History of the Stitch
The story of the stitch is as old as humanity itself. Long before the invention of woven fabric, our Stone Age ancestors needed a way to join materials together. Archaeological evidence shows that as far back as 30,000 years ago, early humans used needles crafted from bone or ivory and thread made from animal sinew or plant fibers. Their purpose was purely functional: to stitch together animal hides to create clothing, footwear, and shelters that protected them from the elements. As civilizations evolved, so did the tools and techniques. The ancient Egyptians, Greeks, and Romans developed sophisticated embroidery stitches to decorate their garments, and the Chinese perfected silk embroidery into a high art form. The Industrial Revolution brought about the sewing machine, which dramatically changed the speed and scale at which a stitch could be made, making clothing more accessible to the masses. From survival tool to art form, the stitch has been an integral part of human innovation for millennia.
Essential Tools and Materials for Stitching
To begin your journey into the world of stitching, you only need a few basic tools. The specific items will vary depending on the craft, but some essentials are universal.
- Needles: This is the most crucial tool. Sewing needles come in various sizes and types, such as sharps for general sewing, betweens for quilting, and embroidery needles with larger eyes. Knitting needles and crochet hooks are the specialized “needles” for their respective crafts.
- Thread or Yarn: This is the material that forms the stitch. Sewing thread is typically made of cotton, polyester, or silk. Yarn for knitting and crochet comes in a huge variety of fibers, from wool and acrylic to bamboo and alpaca.
- Scissors: A good, sharp pair of fabric scissors is a must for getting clean cuts. It’s also helpful to have a small pair of snips for trimming threads close to your work.
- Thimble: While not strictly necessary for every stitch, a thimble protects your finger when you need to push a needle through thick fabric, preventing pokes and discomfort.
- Seam Ripper: Mistakes happen! A seam ripper is a small, pointed tool designed to easily cut and remove unwanted stitches without damaging your fabric.
These basic supplies will get you started on almost any stitching project. As you advance, you might add other tools like pins, measuring tapes, and embroidery hoops to your collection.
Hand Stitching vs. Machine Stitching
The choice between creating a stitch by hand or by machine depends on your project, your desired outcome, and your personal preference. Hand stitching offers unparalleled control and precision. It’s perfect for delicate fabrics, intricate embroidery, and small repairs where setting up a machine would be cumbersome. A hand-sewn stitch can add a personal, artisanal touch to a garment and is often stronger in certain applications, like sewing on a button. However, hand stitching is time-consuming.
Machine stitching, on the other hand, is all about speed and efficiency. A sewing machine can produce hundreds of uniform stitches in a minute, making it ideal for constructing garments, quilting large projects, and creating long, straight seams. Modern machines offer a wide variety of decorative and functional stitches, from zigzags to buttonholes, that would be difficult or impossible to replicate by hand with the same consistency. While it requires an initial investment and learning curve, a machine can open up a world of creative possibilities. Many projects benefit from a combination of both methods—using a machine for construction and adding details with a careful hand stitch.
Basic Sewing Stitches Every Beginner Should Know
Learning a few fundamental hand-sewing stitches will empower you to handle repairs and small projects with confidence. Each stitch serves a different purpose, from creating strong seams to finishing edges neatly.
H3: The Running Stitch
The running stitch is the simplest and most basic of all sewing stitches. It’s created by weaving the needle and thread up and down through the fabric in a straight line. You can make several stitches on the needle before pulling the thread through, which makes it very fast. While not the strongest stitch, it’s excellent for gathering fabric, basting (temporarily holding seams together before final sewing), and creating simple decorative outlines. To make a running stitch, simply push the needle into the fabric from the back, bring it up to the front a short distance away, then push it back down again. Keep the stitches and the spaces between them as even as possible for a neat appearance.
H3: The Backstitch
The backstitch is the workhorse of hand sewing. It creates a strong, durable seam that looks similar to a machine stitch on the front. It’s perfect for mending torn seams and for any area that needs to withstand stress. To create a backstitch, you start by bringing the needle up through the fabric from the back. Then, take a small stitch backward from where the thread emerged. Finally, bring the needle up again a space ahead of your first stitch. You then repeat the process, taking a stitch backward into the end of the previous stitch. This overlapping technique is what gives the backstitch its incredible strength and clean, continuous line.
H3: The Whip Stitch
The whip stitch is primarily used for joining two finished edges together or for appliqué. It creates a series of small, diagonal stitches that “whip” over the edge of the fabric, securely binding them. It’s a great choice for closing up the seams on stuffed toys, pillows, or for hemming. To do a whip stitch, hold the two pieces of fabric with their edges aligned. Bring your needle up from the inside of one piece, then pass it over the edge and through the second piece, coming up from the back. The thread will wrap around the raw edges. Continue making these small, evenly spaced diagonal stitches along the entire edge for a secure and tidy finish.
H4: The Blanket Stitch
Often confused with the whip stitch, the blanket stitch is a decorative and functional edge finish. It was traditionally used to finish the edges of blankets, as its name suggests, preventing them from fraying. Today, it’s used in appliqué, embroidery, and as a decorative edging on all kinds of projects. To create it, bring your needle up from the back, about a quarter-inch from the edge. Then, insert the needle through the front of the fabric at the same distance from the edge, but before you pull the needle all the way through, loop the working thread around the needle. When you pull the needle tight, it creates a neat, L-shaped stitch that locks onto the edge of the fabric.
An Introduction to Knitting and Crochet Stitches
Knitting and crochet are crafts that build fabric entirely from a series of looped stitches. While they both use yarn, the tools and the way the stitch is formed are different.
- Knitting: Knitting uses two needles to create stitches. The fabric is formed by transferring loops from one needle to another. The two foundational stitches are the knit stitch and the purl stitch. The knit stitch creates a “V” shape on the front of the work, while the purl stitch creates a small bump. By combining these two basic stitches in different sequences, you can create a huge variety of patterns and textures, from the smooth surface of stockinette stitch to the bumpy texture of garter stitch and the stretchy fabric of ribbing. Every knitting pattern, no matter how complex, is simply a combination of these two fundamental movements.
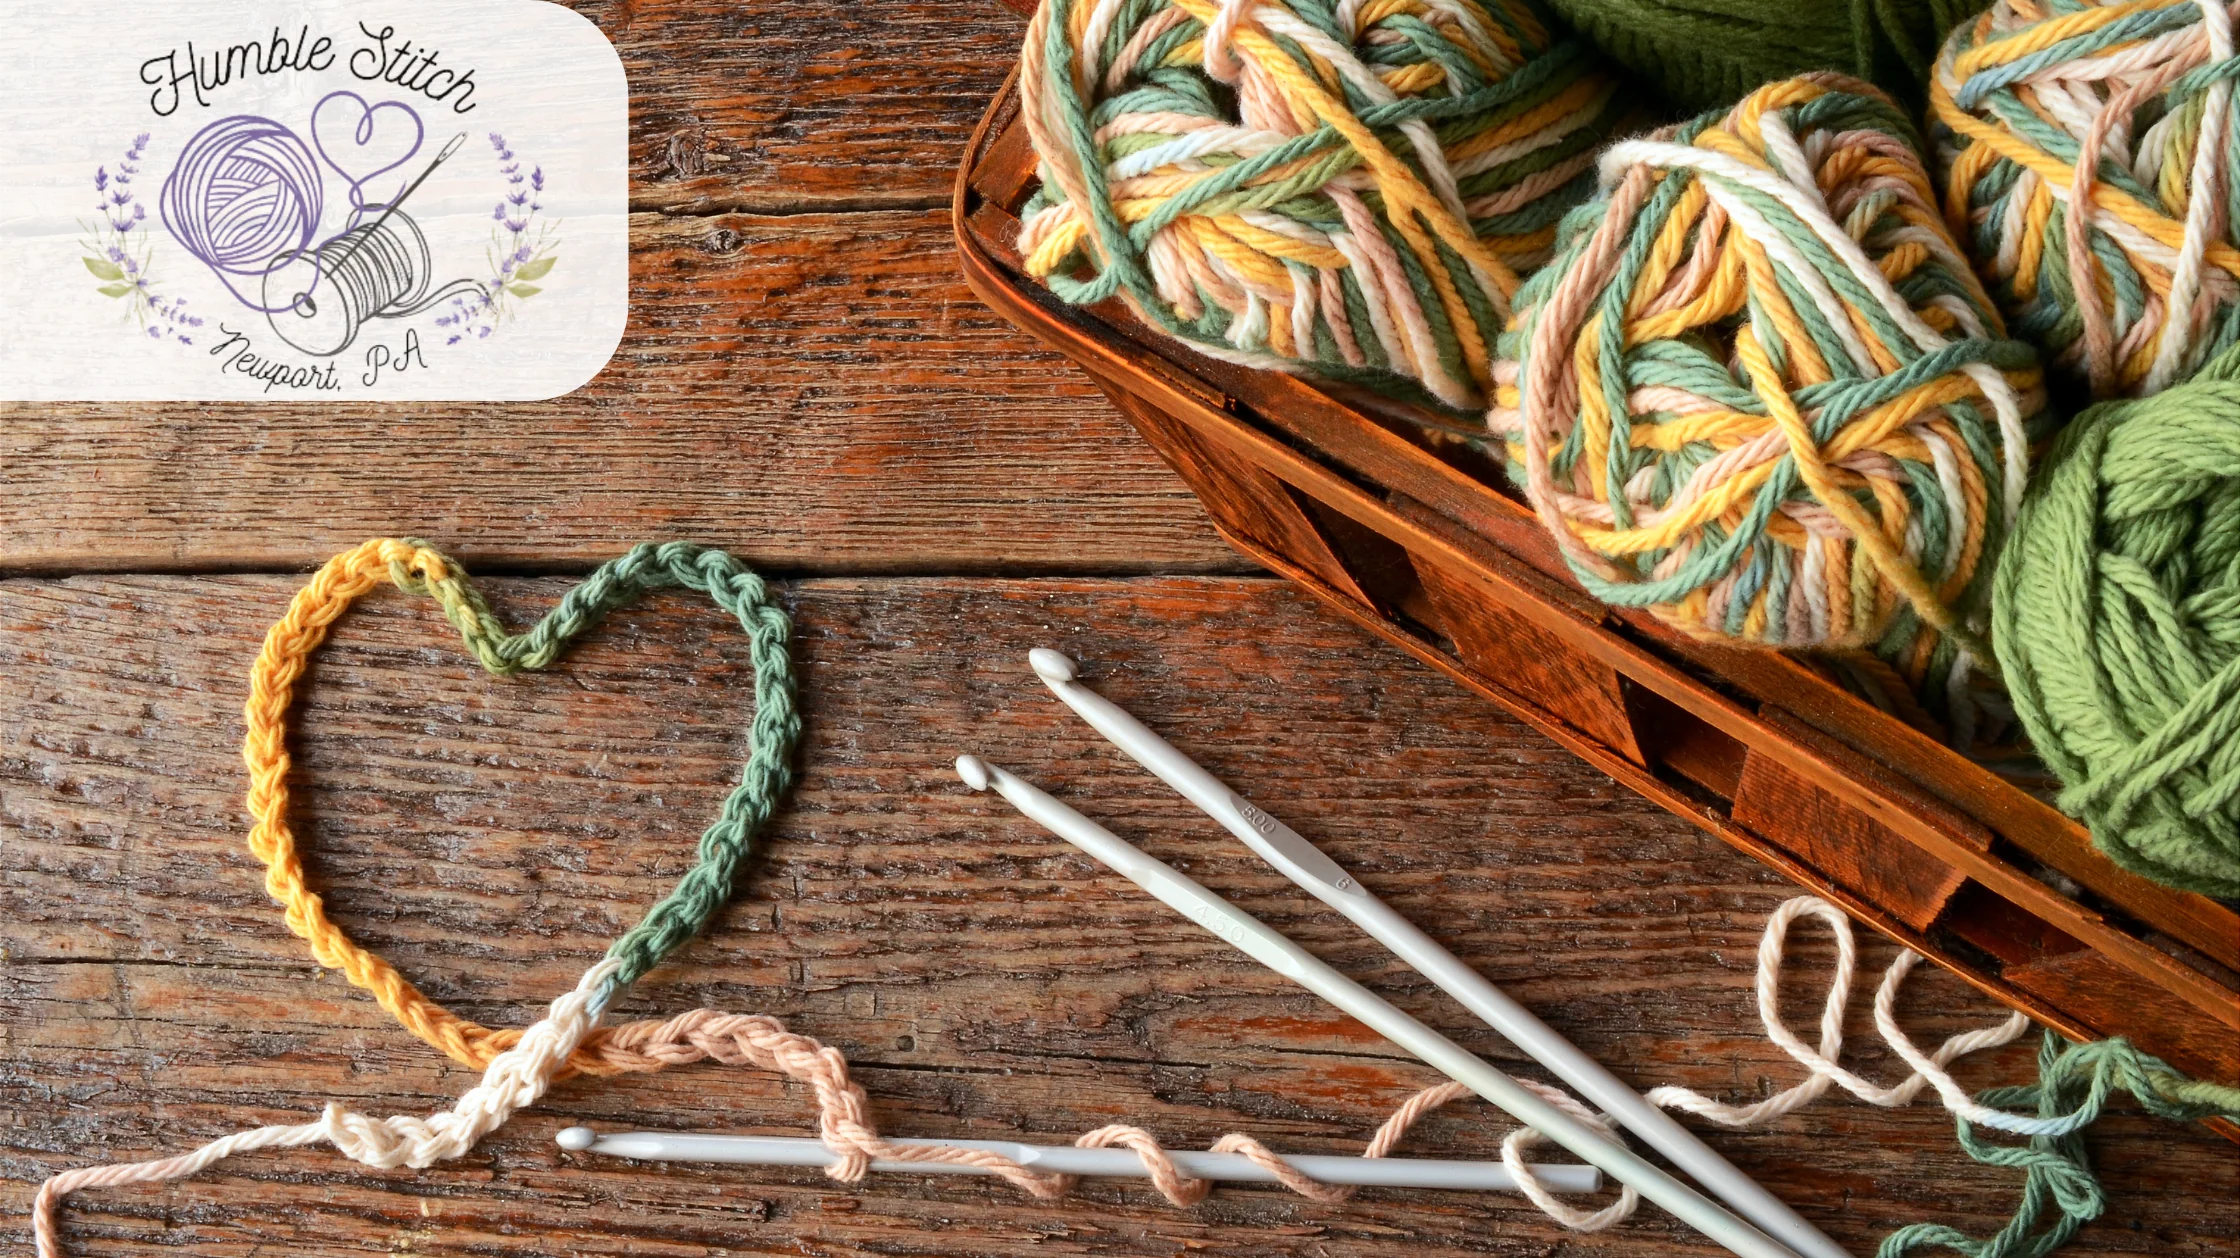
- Crochet: Crochet uses a single hook to pull loops of yarn through other loops, creating the fabric one stitch at a time. The basic crochet stitches include the chain stitch (the foundation of most projects), the single crochet, half-double crochet, double crochet, and treble crochet. Each stitch varies in height, allowing crocheters to create textures and shapes with great versatility. Unlike knitting, where you have many active stitches on a needle, in crochet you typically only work with one active loop at a time, which some beginners find easier to manage.
Exploring the Art of Embroidery
Embroidery is the art of decorating fabric with a needle and thread. It’s all about using different types of stitches to create images, patterns, and textures. An embroidery stitch isn’t typically used for construction; its purpose is purely aesthetic. There are hundreds of embroidery stitches, but beginners can create beautiful designs with just a few basics. The satin stitch is used to fill in shapes with smooth, solid color. The stem stitch is perfect for creating flowing lines and outlines, like flower stems. The French knot is a popular stitch for adding small, decorative dots, like the center of a flower or an animal’s eye. Embroidery allows for immense creativity, transforming a plain piece of fabric into a work of art, one careful stitch at a time. For more how-tos and style inspiration, we love reading Versailles Blog at https://versaillesblog.com/.
The Medical Stitch: Sutures and Healing
In the medical world, a stitch takes on a critical, life-saving role. Known as a suture, a medical stitch is used to close wounds, hold tissues together after surgery, and repair injuries. The goal is to bring the edges of the skin or tissue together to promote healing and minimize scarring. Medical sutures are made from a variety of materials, some of which are absorbable (they dissolve in the body over time) and some of which are non-absorbable and must be removed by a doctor after the wound has healed. The technique used to place the stitch is just as important as the material. Surgeons use different stitching patterns, such as the simple interrupted stitch or the continuous running stitch, depending on the type and location of the wound. The precision and care taken with each medical stitch can have a profound impact on a patient’s recovery and final cosmetic result.
The Stitch in the Digital Age
The word stitch has even found its way into our modern, digital lexicon. In video editing and social media, to “stitch” a video means to digitally combine a clip from another user’s video with one of your own. This feature, popularized on platforms like TikTok, allows users to react to, comment on, or add to existing content, creating a collaborative and interactive form of media. The term is also used in panoramic photography and virtual reality, where multiple images are “stitched” together using software to create a single, seamless, wide-angle view. In this context, a digital stitch is the invisible seam that joins separate pieces of media into a cohesive whole, proving that the concept of joining things together is just as relevant in the virtual world as it is in the physical one.
Troubleshooting and Caring for Your Stitches
Whether your stitch is in a handmade sweater or a mended pair of jeans, proper care will ensure it lasts. One common problem is a loose or broken stitch. For hand-sewn items, this can often be fixed by simply going over the area with a few new stitches to reinforce it. For machine-sewn seams, you may need to unpick a small section and re-sew it. To prevent stitches from breaking in the first place, use the right type of thread for your fabric—a strong polyester thread is great for durable seams, while a cotton thread is good for natural fibers. When washing handmade or mended items, it’s best to use a gentle cycle or wash them by hand. For knitted and crocheted items, always follow the yarn’s care instructions, as materials like wool can shrink or felt if not washed correctly. Treating your stitched creations with care ensures your hard work will be enjoyed for years to come.
Comparison of Stitch Types
|
Feature |
Sewing Stitch |
Knitting Stitch |
Embroidery Stitch |
Crochet Stitch |
Medical Suture |
|---|---|---|---|---|---|
|
Primary Use |
Construction, mending, hemming |
Fabric creation |
Decoration, embellishment |
Fabric creation |
Wound closure |
|
Basic Unit |
Running stitch, backstitch |
Knit stitch, purl stitch |
Satin stitch, stem stitch |
Single crochet, double crochet |
Interrupted stitch |
|
Tools Used |
Needle, thread |
Two needles, yarn |
Needle, embroidery floss |
Single hook, yarn |
Suture needle, suture thread |
|
Typical Appearance |
Forms a seam |
Forms a looped fabric |
Forms a picture or pattern |
Forms a denser, looped fabric |
Joins skin or tissue |
|
Beginner Difficulty |
Easy to moderate |
Moderate |
Easy to moderate |
Easy |
Professional skill |
Conclusion
From the earliest bone needles of our ancestors to the complex algorithms that “stitch” digital videos together, the concept of the stitch has remained a fundamental part of human experience. It is a symbol of creation, repair, and connection. Learning to make a simple stitch is a valuable life skill that unlocks a world of creativity and self-sufficiency. It allows you to mend your favorite clothes, create personalized gifts, and engage in a timeless craft that connects you to generations of makers before you. Whether you are picking up a needle and thread for the first time or are a seasoned crafter, there is always a new stitch to learn and a new project to bring to life.
Frequently Asked Questions (FAQ)
1. What is the strongest hand-sewing stitch?
The strongest and most durable hand-sewing stitch is the backstitch. Its overlapping structure creates a continuous line of thread that closely mimics a machine stitch, making it ideal for repairing seams and any area that needs to hold up under stress.
2. What is the difference between knitting and crochet?
The main difference lies in the tools and the way stitches are formed. Knitting uses two needles to hold and transfer multiple active loops of yarn. Crochet uses a single hook to create one stitch at a time. This results in fabrics with different structures and drapes.
3. Can I use regular sewing thread for embroidery?
While you technically can, it’s not recommended for decorative work. Embroidery floss is designed specifically for this purpose. It is made of six strands that can be separated, allowing you to control the thickness of your stitch. It also has a beautiful sheen that makes embroidery designs pop.
4. How do I choose the right needle for my project?
Needles are sized with numbers; the higher the number, the finer the needle. For delicate fabrics like silk, use a fine needle (e.g., a size 10). For heavy fabrics like denim, use a thicker, stronger needle (e.g., a size 16 or 18). Using the right needle prevents damage to the fabric and makes sewing easier.
5. What is a basting stitch?
A basting stitch is a type of long, loose running stitch that is used to temporarily hold fabric pieces together. It acts like a temporary pin, keeping seams aligned while you do the permanent machine or hand sewing. Basting stitches are designed to be easily removed after the final seam is complete.
6. Is it hard to learn how to stitch?
Not at all! Basic stitches like the running stitch and backstitch are very easy to learn with a little practice. There are countless online tutorials and beginner kits available that can guide you through your first project. Like any skill, it gets easier and more enjoyable the more you do it.
7. How do doctors remove a non-absorbable medical stitch?
A doctor or nurse will use sterile scissors to snip the stitch near the knot and then gently pull the thread out with forceps. The procedure is typically quick and causes minimal discomfort.


Post Comment